Installing an art gallery hanging system is an effective way to display artwork in a professional and flexible manner. Unlike traditional picture hooks, a hanging system provides a clean, adjustable, and secure solution that preserves walls and allows for easy repositioning of artwork. Whether you’re setting up a personal gallery, office display, or public exhibition, following a step-by-step approach ensures a polished and safe installation.
1. Plan Your Layout
Before starting the installation, plan the layout of your artwork. Measure the wall space and decide on the placement of each piece. Consider the height, spacing, and alignment to ensure a balanced visual display.
Sketching a layout on paper or using design software can help visualize the final arrangement. Planning ahead minimizes errors and ensures that the art gallery hanging system will be installed efficiently and aesthetically.
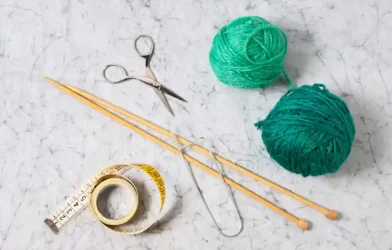
2. Gather Tools and Materials
Having the right tools and materials is essential for a smooth installation. Most hanging systems include rails, cables or rods, hooks, and mounting hardware. You will typically need a drill, level, measuring tape, pencil, and screwdriver.
Ensure that all components are compatible with the weight and size of the artwork. Using high-quality materials guarantees that the system will remain stable and durable over time, supporting each piece securely.
3. Install the Rails or Tracks
When beginning the installation, a properly mounted art gallery hanging system starts with securing the rails or tracks along the top portion of the wall where you want the artwork to hang. Use a level to ensure they are perfectly straight. Mark drill points and secure the rails using screws and anchors suitable for your wall type.
Proper rail installation is crucial because it serves as the foundation for the entire hanging system. A securely mounted rail ensures the system functions safely and can hold the weight of multiple pieces.
4. Attach the Cables or Rods
Once the rails are in place, attach the cables, rods, or wires that will hold the artwork. These components are usually adjustable, allowing you to change the height of each piece easily.
Thread the cables into the rails according to the manufacturer’s instructions, making sure they are firmly secured. Check the alignment and tension of the cables to prevent tilting or slipping once the artwork is hung.
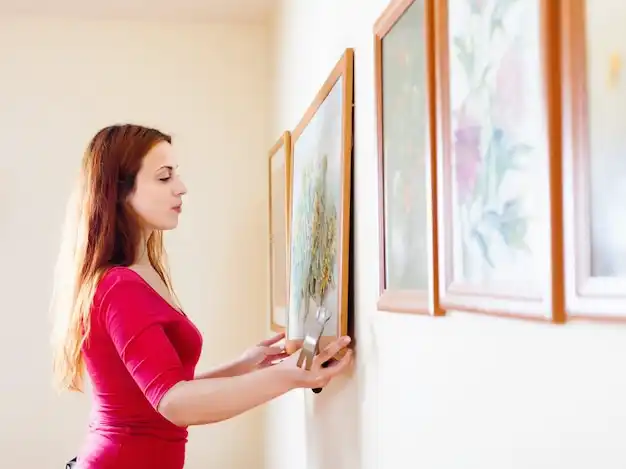
5. Hang and Adjust Artwork
With the cables in place, attach hooks or grips to hang your artwork. Start with the largest or heaviest pieces first to establish balance. Use a level to ensure each piece is straight and adjust the height as needed.
The flexibility of the hanging system allows for quick repositioning, making it easy to create a professional gallery look without damaging walls.
Conclusion
Installing an art gallery hanging system is a practical and elegant way to showcase artwork in homes, offices, or public spaces. By planning the layout, gathering materials, installing rails, attaching cables, hanging artwork, and performing safety checks, you can achieve a professional and visually appealing display. A properly installed hanging system not only enhances the presentation of your art but also provides flexibility and protection for both the walls and the artwork itself.